What comes to our mind when we think about landscape photography colors? It's only natural - deep and rich blues, deep and glowing yellows and greens, rich and warm reds and oranges and of course, high contrast yet detailed scenery.
In reality, our "memory color" isn't always what the camera captured...
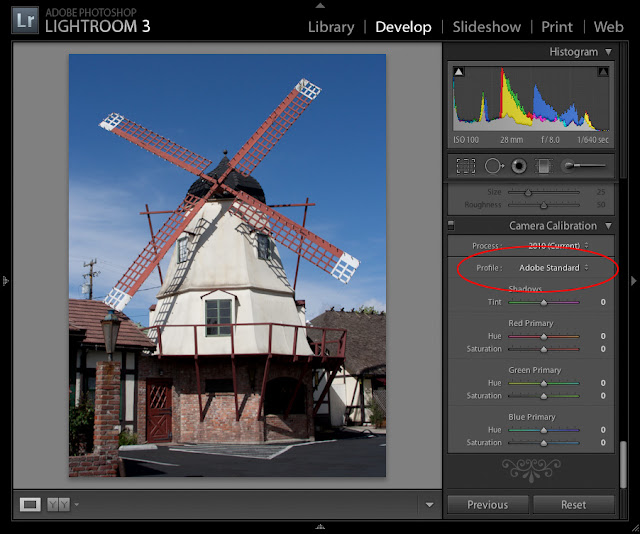
This photo for example, was taken in Solvang CA (just north of Los Angeles). This is how it looks in Lightroom with the default develop settings:
Doesn't really match the imagined colors... To close to reality :)
Most Lightroom users are accustomed to use presets, so either they select an existing one or they start adjusting the Basic and HSL sliders, trying to get the desired colors.
This method doesn't extract more or different colors from the original Raw file. It adjusts the RGB colors of the developed image. Actually, it is similar to the same actions performed in Photoshop after you open the image.
In order to extract more or different colors from a Raw photo, you need to use profiles, which are accessed via the Camera Calibration tab. Yes I know, it is the last one on the list but should have been the first! In this post you'll see how you can boost colors in just 2 steps...
In this photo I used PSKiss Vivid Landscape Mode 1 profile (part of pskiss Color Profiles):
This specific DNG Profile enhances contrast and for this specific image, it's a bit too dark, so I opened the shadows with Fill Light in the Basic tab:
It is possible to boost you landscape photos' colors in just 2 steps...
or watch the free video tutorial:


No comments:
Post a Comment