My friend and customer T. Izak, an enthusiastic photographer, sent me this photo and the steps he took in Lightroom to get the results he was looking for. I found this very interesting and decided to share this Lightroom workflow with you.
T says he waited for a relatively clear day without the common fog around the San Francisco bay area. He wanted a landscape image rather then an urban one, so decided to to use long exposure that wiped off the cars from the bridge, the boats from the bay and gave the water a "creamy" look. To achieve this he use a special ND 3.0 filter. This filter reduces exposure by 10 stops and allows very long exposures even in broad daylight. T used Canon EOS 5D mark 3 with Canon EF 24-70 f2.8L lens. The camera settings were: ISO 50, f22, Exp time: 30 sec
Step #1 - Lens Correction
After importing the image to the catalog, T used Lightroom Lens Correction features to correct geometrical and optical aberrations. To straighten the image automatically, he used the Upright Auto feature.
After Lightroom's Lens Correction:
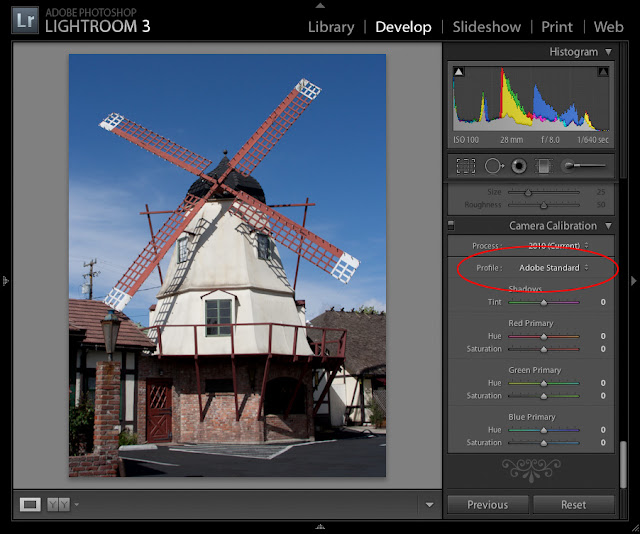
Step #2 - Choose the Develop Profile
T knows this determines the image's initial color table, so he chose PSKiss Velvia Touch profile in order to deepen colors of the image:
Step #3 - Basic Adjustments
T wanted to "cool" the image, so set the White Balance temperature to 4050 and the tint to -15. The dark ND filter created a dark image, even with the 30 seconds exposure, so Exposure was bumped up by 1.5 stops. To retrieve some highlights, it was reduced to -80. To add some "punch",
Clarity was set to +25:
Step #4 - Tone Curve Adjustments
T reduced contrast of the image using the "click-and-drag" feature of Lightroom's Tone Curve panel:
Step #5- Local Color Adjustments
T did some local Saturation and Luminance adjustments in Lightroom's HSL panel:
Step #6 - Sharpness and Detail Enhancements
Since this image will be printed, T decided to enhance sharpness and details.
To avoid noise artefacts, he used a high Masking value:
Step #7 - Remove Unwanted Detail
T removed an unwanted flair from the upper part of the sky, using Lightroom's Spot Removal brush:
Now it's time for the traditional 'before-after' comparison (click to see full size):
Tip! - Save Preset
T had many more photos from this session, so he saved these develop settings as a new preset:
About The Photo
T says he waited for a relatively clear day without the common fog around the San Francisco bay area. He wanted a landscape image rather then an urban one, so decided to to use long exposure that wiped off the cars from the bridge, the boats from the bay and gave the water a "creamy" look. To achieve this he use a special ND 3.0 filter. This filter reduces exposure by 10 stops and allows very long exposures even in broad daylight. T used Canon EOS 5D mark 3 with Canon EF 24-70 f2.8L lens. The camera settings were: ISO 50, f22, Exp time: 30 sec
Develop in Lightroom
After importing the image to the catalog, T used Lightroom Lens Correction features to correct geometrical and optical aberrations. To straighten the image automatically, he used the Upright Auto feature.
After Lightroom's Lens Correction:
Step #2 - Choose the Develop Profile
T knows this determines the image's initial color table, so he chose PSKiss Velvia Touch profile in order to deepen colors of the image:
Step #3 - Basic Adjustments
T wanted to "cool" the image, so set the White Balance temperature to 4050 and the tint to -15. The dark ND filter created a dark image, even with the 30 seconds exposure, so Exposure was bumped up by 1.5 stops. To retrieve some highlights, it was reduced to -80. To add some "punch",
Clarity was set to +25:
Step #4 - Tone Curve Adjustments
T reduced contrast of the image using the "click-and-drag" feature of Lightroom's Tone Curve panel:
Step #5- Local Color Adjustments
T did some local Saturation and Luminance adjustments in Lightroom's HSL panel:
Step #6 - Sharpness and Detail Enhancements
Since this image will be printed, T decided to enhance sharpness and details.
To avoid noise artefacts, he used a high Masking value:
Step #7 - Remove Unwanted Detail
T removed an unwanted flair from the upper part of the sky, using Lightroom's Spot Removal brush:
Now it's time for the traditional 'before-after' comparison (click to see full size):
Tip! - Save Preset
T had many more photos from this session, so he saved these develop settings as a new preset:


